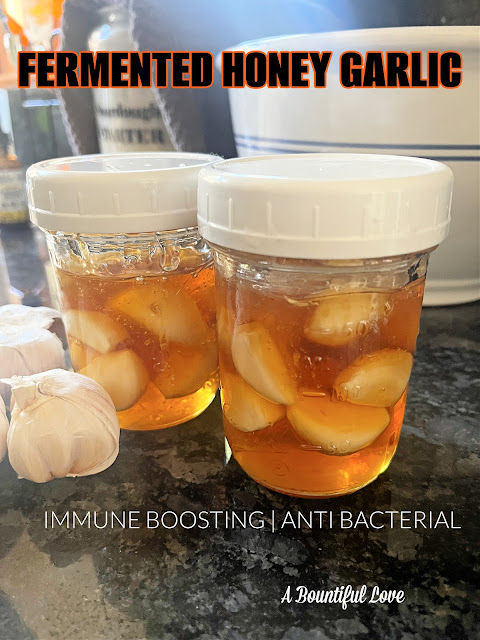
When I think about superfoods, honey, and garlic always come to mind. Individually, they are pactful of health benefits. They both have antibacterial and antioxidant properties. The allicin in garlic contains chemicals as well as oxygen and sulfur that give it its antibacterial characteristics. Using fresh, minced or chopped garlic is definitely more beneficial than using a whole clove because it releases more allicin. However, you will need to use the fresh garlic right away because it can lose its allicin levels quickly. See this study for more information: Garlic: A Review of Therapeutic Effects
The flavonoids and polyphenols in honey help our bodies fight inflammation. Additionally, honey also has antiviral and antifungal properties. While these are amazing, it is also crucial to remember that your source and kind of honey are important. There are honey that is old in the market that are diluted and just plain sugar. I prefer to use local and raw honey. Both garlic and honey have a ton of other health benefits too such as heart health, gut health, and skin health. Fermenting both of these superfoods will give you a superb herbal remedy for cold and flu season. It is very easy to make! If you are in doubt, please do your own research and consult your physician. Honey is not safe for babies and you should also always check for allergies or sensitivities. This post is not meant as a substitute for medical care.
Ingredients:
Fresh raw garlic, enough to fill your mason jar at least haf way
Raw Honey
Mason jar
Directions:
1. Peel the garlic cloves. Add the peeled cloves of garlic to a clean jar. Add enough garlic to fill the jar at least one-half to two-thirds full.
2. Pour the raw honey over the garlic until it’s completely full.
3. You will notice that it will take a few minutes for the honey to settle between all the cloves of garlic and you will see it float. Top off the jar with more honey as needed after settling.
4. Loosely add a lid, but don’t tighten it completely. It’s important that the "gasses" from the fermentation process escape from the jar. I usually burp it (open the jar completely) when I don't cover the jar loosely, especially if you are worried about bugs or ants getting into your jar.
5. Set the jar of garlic honey in a cool dark location to ferment. I always put my honey garlic jat on top of a small plate or towel just in case it overflows for easy clean up. Ferment for a month.
NOTES: Stir honey garlic during the first week of fermentation. I use a wooden chopstick. You can also close the lid, shake the jar, and re-loosen the lid after). This will prevent mold formation as there will be garlic that will be floating on top. The garlic always needs to be submerged or coated with honey.
After a few days, you will see bubbles forming within the jar. If you don't see the bubbles, don't be alarmed that is okay too. If your honey garlic seems runny that is completely normal. It is suggested to ferment the honey garlic for a month, but you can actually consume it in two weeks!
Consuming the Fermented Honey Garlic: You can scoop and eat garlic with the honey *just always use a clean spoon or fork) Do not contaminate the jar. You can spread the honey garlic over a toast. You can also consume the honey with Fire Cider. If you are not familiar with fire cider, grab the recipe here: Fire Cider Recipe
OTHER HEALTHY RECIPES TO TRY:


No comments
Thank you for stopping by and know that all of your comments are appreciated !